






Canvas Mounting Hardware for Flexible Solar Panels (Bolt-on Kit) - Small Panels
Solar Panel & Controller Sizing App
Building a complete solar system?
Use our sizing tools to find the right solar panels for your space and the right charge controller for your system.
- Solar Sizing App [Find the Right Solar Panels for Your Space→]
- Solar Controller Sizing [Size Your Solar Controller →]
- Determine how many solar panels you need [Power Consumption Worksheet→]
Not sure how many solar panels you need?
Try our Power Consumption Worksheet.
Make a copy of the worksheet and update with your information.
Wiring Diagrams
Canvas Mounting Hardware for Flexible Solar Panels (Bolt-on Kit) - Small Panels
Secure your flexible solar panels to a canvas bimini, dodger, or other suitable marine canvas surface with our Bolt-On Kit.
Designed specifically for small flexible solar panels, this stainless steel mounting hardware kit provides the components needed to create 4 secure mounting points. The included fender washers help distribute pressure across the panel and canvas, while nylon locking nuts help resist loosening from vibration.
Whether you're mounting a flexible solar panel on a boat bimini or another suitable canvas surface, the Bolt-On Kit provides a straightforward mechanical mounting solution without relying solely on adhesives.
Stainless Steel Hardware for Marine Applications
Kit includes 4 sets of bolt hardware. All metal parts are stainless steel. Made for holding flexible solar panels to the bimini. To install, heat a hot pick or awl to poke (and singe fibers) through the bimini. A bit of silicone between the fender washers is not a bad idea though not necessary for waterproofness.
What's Included
The kit includes:
- 8 fender washers
- 8 small washers
- 4 bolts
- 4 nuts
- 4 nylon locking nuts
Designed for Flexible Solar Panels on Canvas Biminis
This mounting hardware is ideal for securing flexible solar panels to:
- Canvas biminis
- Dodger tops
- Boat canvas enclosures
- Other suitable marine canvas surfaces
Attaching Solar Panels to a Canvas Bimini or Dodger Using the “bolt-on” Method
The bolt on kit contains fender washers, washers, nuts and bolts. Refer to diagram to see how the components are assembled.

- Place the solar panel on the canvas where it is to be mounted. Give it time to be
warmed by the sun and nestle into the canvas. - Mark each of the grommet holes on the canvas.
- Puncture the canvas at one of the grommet locations with a hole punch or sharp object (nail, awl, or ice pick). A heated punch will fuse the Sunbrella fabric fibers together strengthening the hole area.
- Place a fender washer onto the ¾” 10-24 bolt and (optional) apply a small amount of adhesive or silicone around the bolt.
- Insert the bolt with fender washer through the canvas.
- Apply a small amount of adhesive or silicone around the bolt sticking through the canvas and place a fender washer on the bolt.
- Tighten a 10-24 nut on the bolt securing the canvas between the fender washers.
- Place a small washer onto the bolt (optional).
- Slide the panel grommet over the bolt, place a second small washer onto the bolt and secure the assembly with a lock nut.
- With one grommet in place inspect the hole positions for the other grommets to be sure they are in the correct position.
- Repeat steps 3 through 11 for each solar panel grommet.
For more detailed instruction, learn here: CMPower Semi-Flexible Panel Installation Guide

Solar System Design and Installation
We have put together a collection of helpful information for our customers on everything to help you design you perfect system and installation instructions.
SHOW ME HOW TO PUT TOGETHER MY SYSTEM

CMPower Impact Resistant Walk-on Solar Panel Installation Guide
Detailed Installation Guide to properly mount your solar panel kit on your van roof rack.
READ MORE
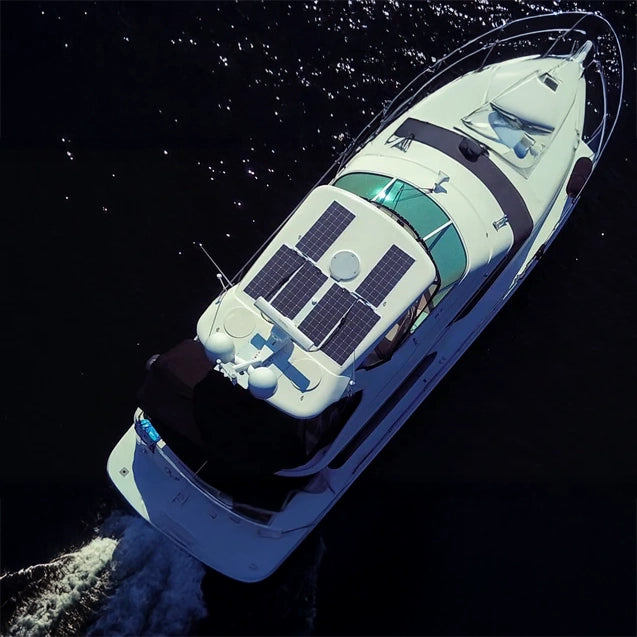
Premium Marine Solar Panels/Systems and Lithium Iron Batteries
Improve your cruising experience with the highest efficiency solar panels available.
LEARN MORE
Popular Collections
- Popular Collections
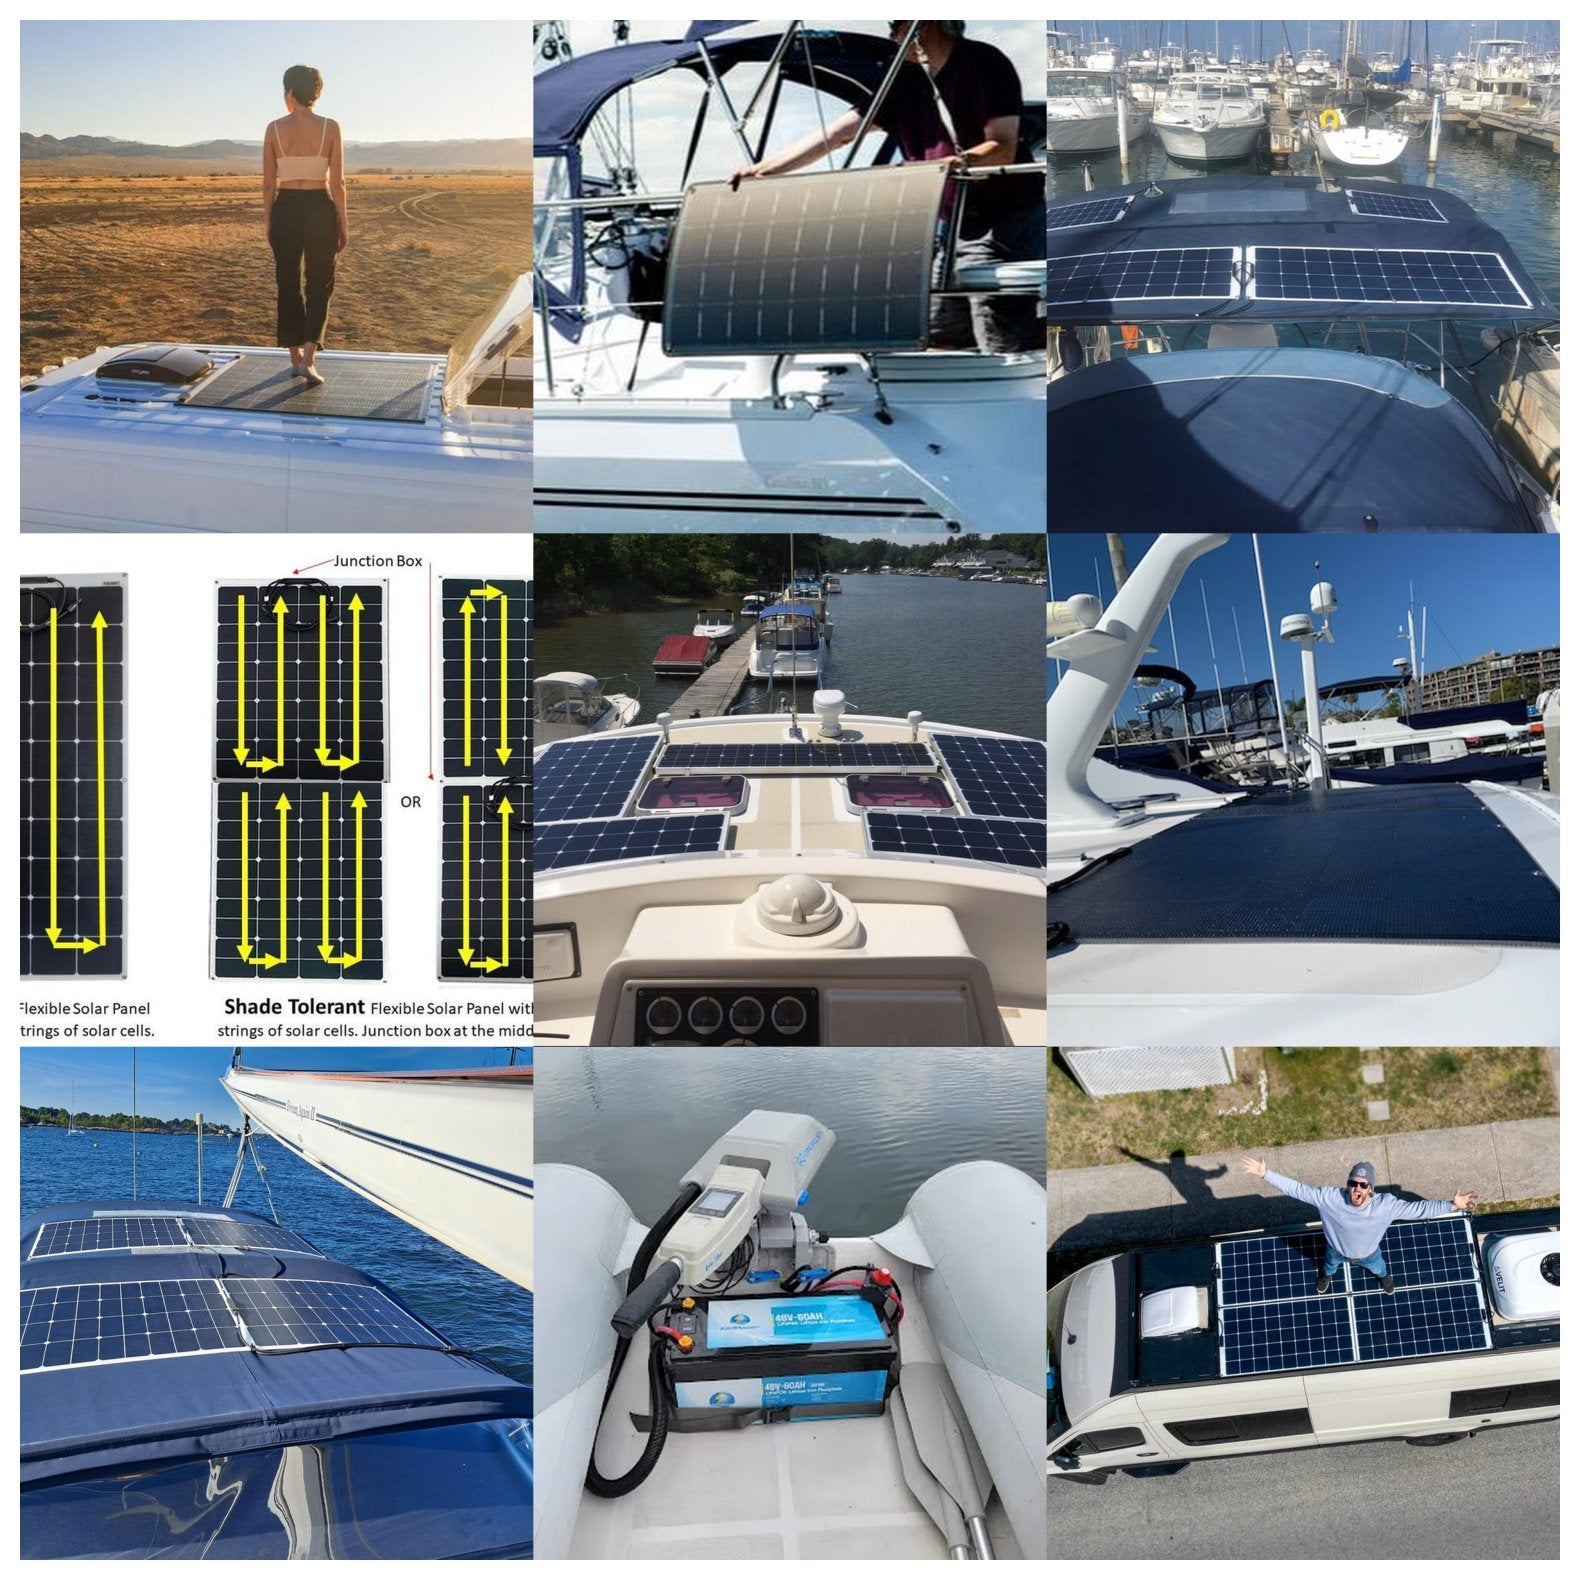
Marine Solar Panels
- Popular Collections
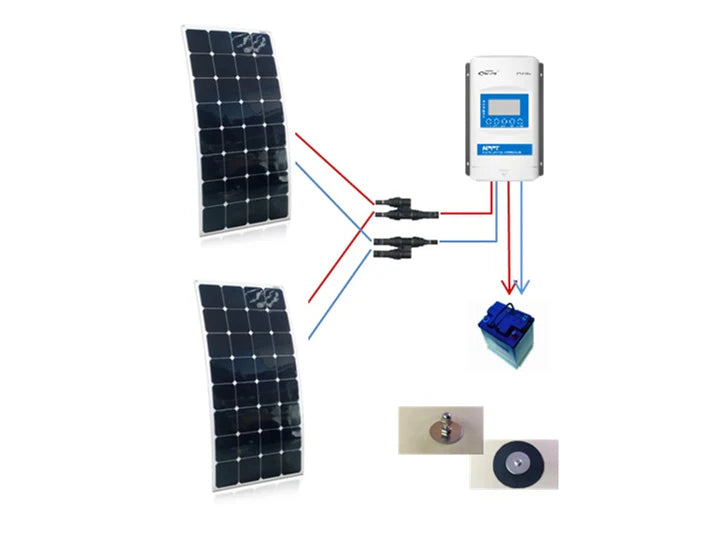
Marine Solar System Kits
- Popular Collections
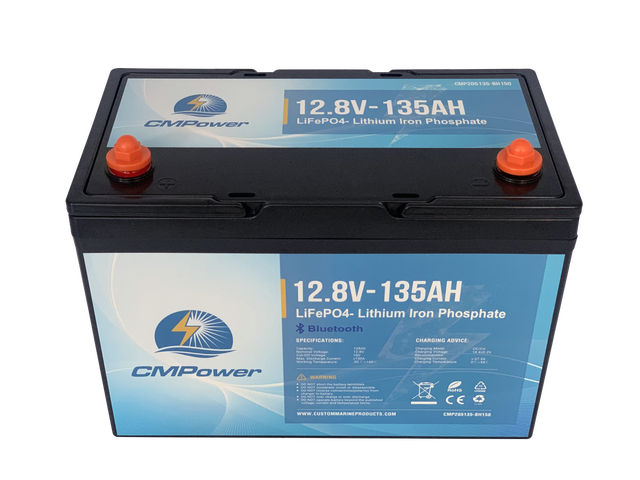
LiFePO4 (Lithium Iron Phosphate) Marine Batteries
